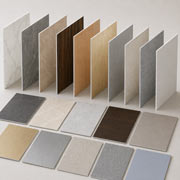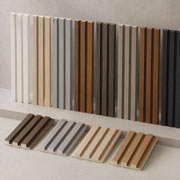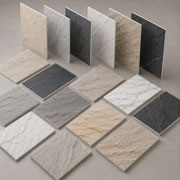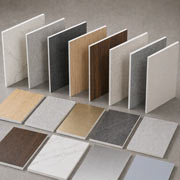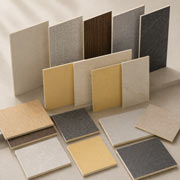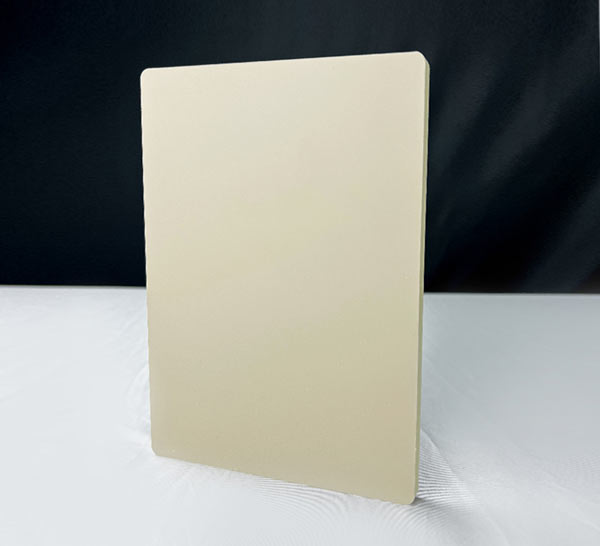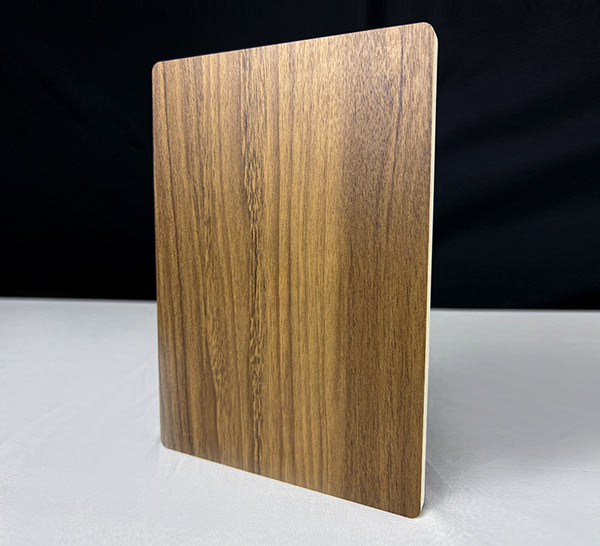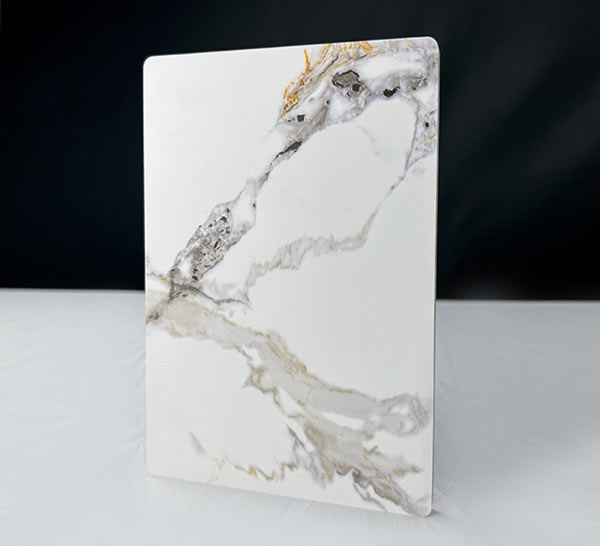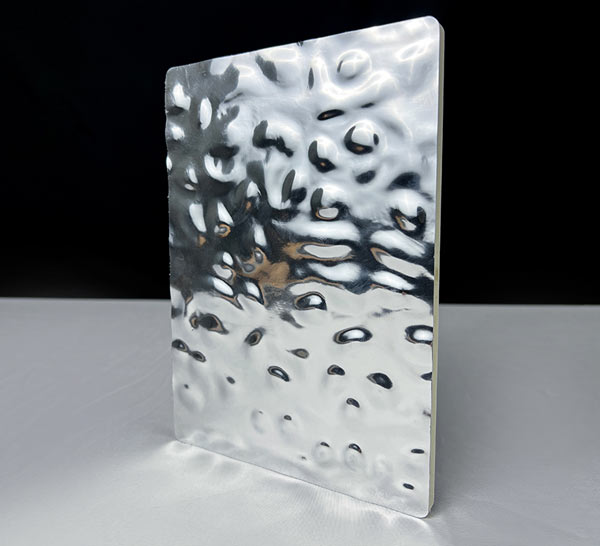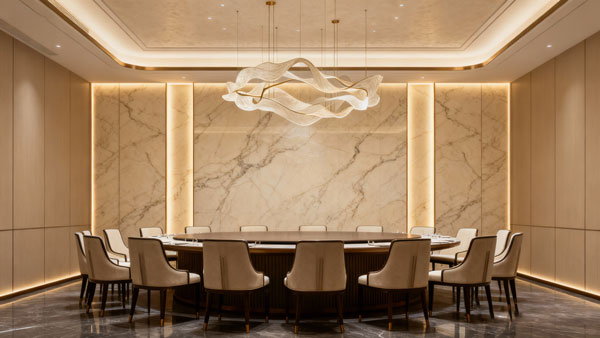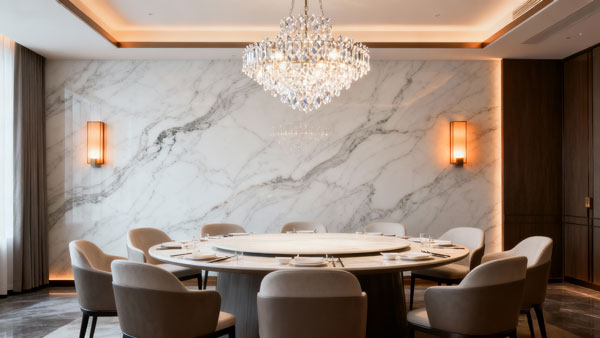
If you are searching for reliable, field-proven installation methods for antibacterial resin panels for hospitals, schools, office buildings, clean rooms, food processing facilities or commercial renovation projects across global regions, this practical workflow covers universal construction standards, climate-adapted operations and widely recognized quality control rules. It perfectly matches the real questions that international contractors, project managers and global renovation teams frequently look up for their on-site execution.
Why Antibacterial Resin Panels Are the Top Choice for Global Commercial & Public Projects
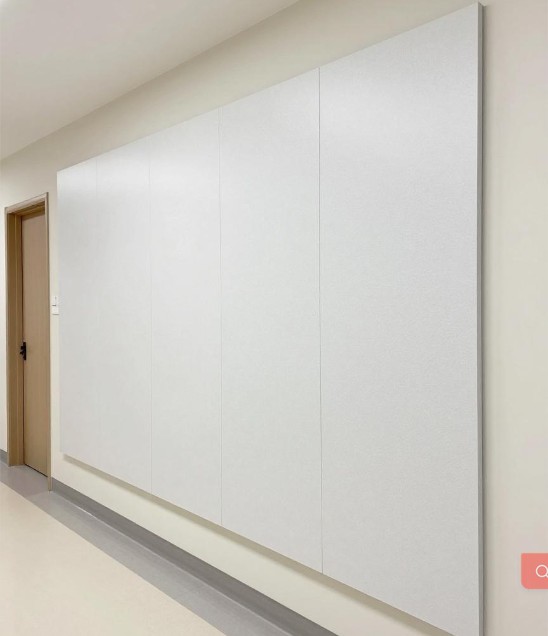
Antibacterial resin panels have become a preferred wall finishing material worldwide, thanks to their durable antibacterial coating, strong scratch resistance, moisture-proof performance and easy-to-clean non-porous surface. For hospital operating rooms, school canteen walls, public restroom renovations, laboratory clean zones, food factory production areas and high-traffic public spaces, they deliver far longer service life and more stable hygienic performance than traditional latex paint, ceramic tiles or ordinary decorative panels. This guide is tailored to fit different regional construction norms, diverse climate conditions and global project quality requirements.
Pre-Installation Preparation: Adaptable for All Global Site Conditions
Material Check & Universal Storage Rules
Confirm all delivered antibacterial resin panels match your project’s required color, thickness, antibacterial rating and fire safety standard, with no surface scratches, warping or poorly sealed edges. Store panels horizontally on elevated wooden pallets in a dry, ventilated enclosed space, keeping stacking height under 1.2m. For projects in high-humidity tropical regions, place industrial dehumidifiers inside temporary storage areas to prevent panel deformation before installation. For cold arctic or high-altitude regions, keep stored panels at a steady temperature above 5°C to avoid material performance changes.
Tools & Globally Accessible Supporting Materials
Prepare standard construction tools including a precision cutting machine, edge grinder, laser level, impact drill, heavy pressure roller and vacuum suction cups. Source locally available supporting supplies that meet regional standards: dedicated antibacterial panel adhesive, mildew-proof neutral sealant, 2mm damping gaskets and stainless steel expansion bolts that adapt to local wall base types.
Base Wall Inspection for All Building Types
Make sure the base wall on site is fully cured, dry, free of loose dust, grease or hollow spots, with surface flatness controlled within 3mm per 2m. Confirm all hidden plumbing, electrical wiring, fire protection and mechanical & electrical works are fully completed and passed local regulatory inspection. For projects in cold winter zones, ensure on-site construction temperature stays above 10°C to guarantee proper adhesive curing. For projects in high-temperature desert regions, avoid direct sunlight exposure on panels and adhesive during installation to prevent premature curing.
Step-by-Step Universal Installation Workflow for Global Projects
Base Wall Treatment
Clean the wall surface thoroughly, remove all residual old paint, loose mortar and contaminants, then patch uneven or hollow areas with regionally suitable polymer repair mortar and environmental-friendly putty. Apply a layer of cement-based penetrant interface agent evenly across the entire wall, and let it dry completely for no less than 4 hours before proceeding to the next step.
Precise Layout Marking
Use a laser level to snap the 500mm elevation reference line and panel positioning lines on the wall. Keep horizontal deviation under 1mm and vertical deviation under 2mm, and add extra control lines at all internal and external corners to ensure the full wall layout stays neat, aligned and meets global visual quality standards.
Adhesive Application & Panel Mounting
Spread a full, even layer of dedicated adhesive on both the treated base wall and the back of the antibacterial resin panel with a notched trowel. After waiting for the manufacturer-recommended open time, align the panel exactly to the pre-marked position. Leave a 5mm expansion gap between adjacent panels, a critical detail that adapts to temperature fluctuations across four seasons in most global regions.
Full Bonding & Air Exhaust
After placing each panel, roll the entire surface evenly from the center outwards with a heavy pressure roller, squeezing out all trapped air between the panel and the wall. This step eliminates hollow bonding spots, which is one of the most frequent quality issues overlooked by construction teams worldwide.
Seam Treatment & Final Site Cleaning
Stick masking tape on both sides of the seams before applying sealant, to avoid staining the panel surface. Fill the gaps with mildew-proof, antibacterial sealant that meets local hygiene standards, scrape it smooth and remove the masking tape immediately. Finally, wipe all panel surfaces with a soft damp cloth to clear away residual adhesive and construction dust.
Global Practical Tips to Avoid Common Installation Mistakes
For old wall renovation projects anywhere in the world, antibacterial resin panels can be directly installed on the original wall without heavy demolition, which reduces construction waste by over 60% and greatly shortens the whole project period.
Never snap panels by hand on site. Always use a professional cutting machine to get neat, burr-free edges, so the final seams stay tight, hygienic and aesthetically consistent.
After installation, avoid heavy impact or strong solvent cleaning on the panel surface within 72 hours, to let the adhesive fully cure and guarantee long-term stable performance for decades of daily use.
This complete, climate-adapted installation guide is designed for real antibacterial resin panel construction projects across all global regions. It helps international construction teams execute work smoothly, meet local regulatory quality standards and deliver a long-lasting, low-maintenance hygienic wall finish for hospitals, schools, commercial facilities and public infrastructure projects.