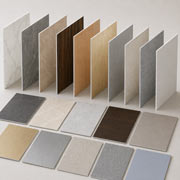
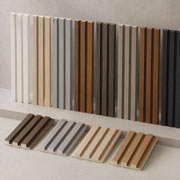
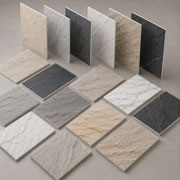
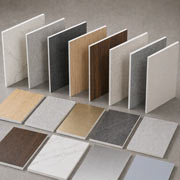
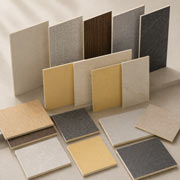
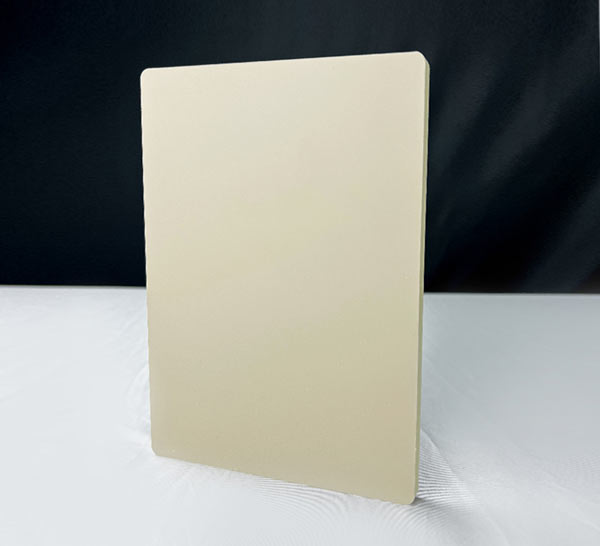
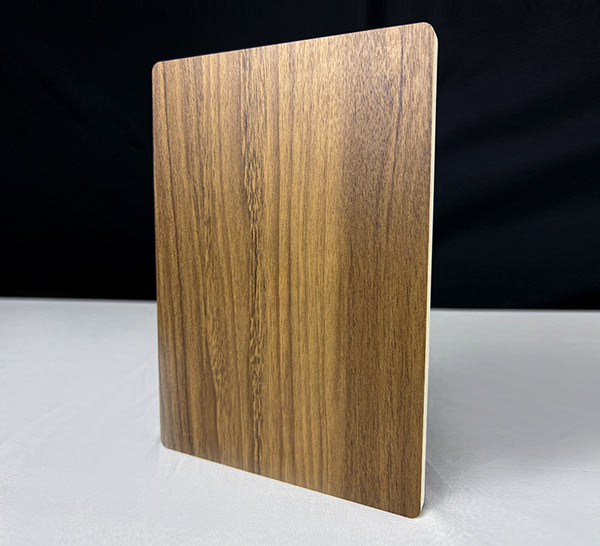
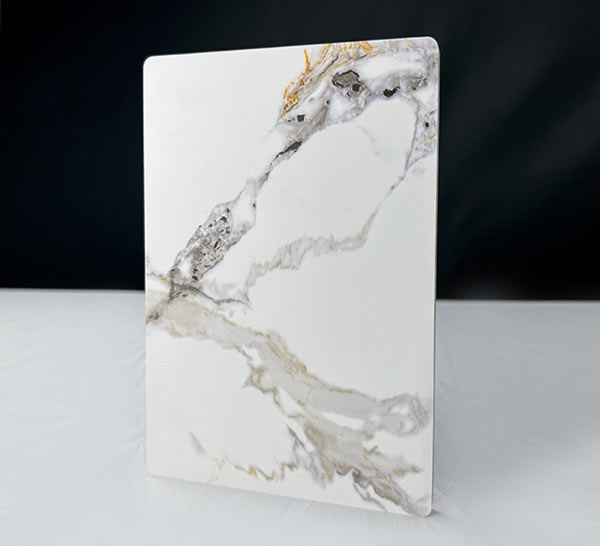
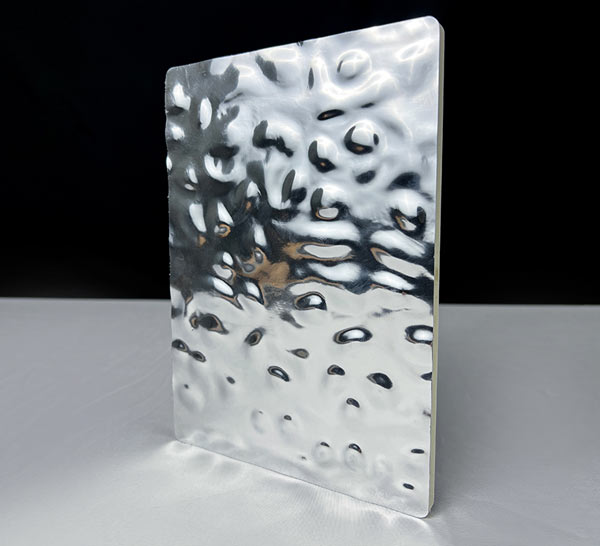
Tired of moldy, dusty, and hard-to-clean cement walls? Looking for a durable, hygienic, and budget-friendly wall renovation solution? PVC antibacterial resin sheets have become a top choice for residential, commercial, medical, and catering space renovations worldwide. Featuring excellent antibacterial performance, waterproof moisture resistance, scratch resistance, and easy maintenance, these sheets perfectly upgrade rough cement walls without complicated construction or heavy renovations.
The best part? You don’t need professional construction teams or sophisticated tools. With a systematic installation process, even DIY beginners can finish the installation smoothly. Below is a detailed, step-by-step guide to installing PVC antibacterial resin sheets on cement walls for a flawless, long-lasting finish.
Why Choose PVC Antibacterial Resin Sheets for Cement Walls?
Before diving into installation, let’s explore why this material stands out from traditional wall paints, tiles, and ordinary
PVC panels. Its unique advantages make it ideal for cement wall upgrades:
Powerful Antibacterial Property: Specially formulated antibacterial ingredients effectively inhibit the growth of bacteria, mold, and mildew, keeping walls hygienic for hospitals, kitchens, bathrooms, and children’s rooms.
Perfect Adaptation to Cement Walls: The flexible and high-adhesion material fits uneven cement base walls well, covering wall cracks, sanding defects, and rough textures thoroughly.
Waterproof & Moisture-Proof: It resists water penetration and humid environments, preventing wall peeling, blistering, and mildew problems common in cement walls.
Easy Daily Maintenance: The smooth seamless surface is stain-resistant. Dust, oil stains, and dirt can be wiped clean with a damp cloth, saving tons of daily cleaning effort.
Cost-Effective & Durable: No complex wall leveling or primer treatment is required. It boasts a long service life, effectively reducing repeated wall renovation costs.
Pre-Installation Preparation: Tools & Wall Inspection
Adequate preparation determines the installation flatness and bonding firmness. Prepare all tools and check the wall condition in advance to avoid construction errors.
Required Tools & Materials
PVC antibacterial resin sheets, special PVC structural adhesive, double-sided tape, tape measure, fine-tooth saw/jigsaw, utility knife, rubber mallet, scraper, damp microfiber cloth, level ruler, neutral waterproof sealant
Cement Wall Base Inspection & Treatment
Cement walls must be clean, dry, solid, and flat before installation, which is the core premise of firm pasting:
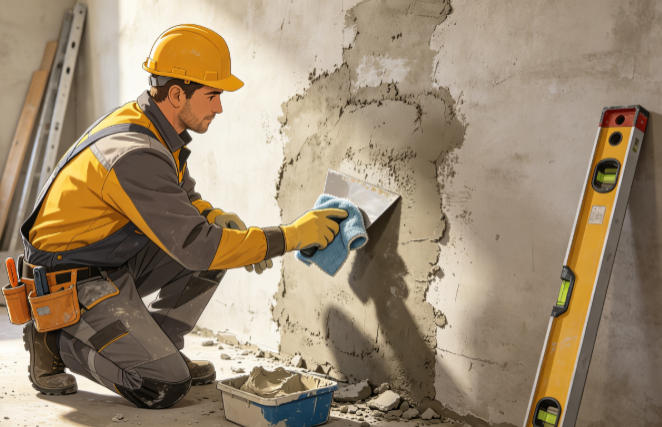
Remove all dust, floating ash, oil stains, and residual debris on the wall with a scraper and damp cloth, and ensure the wall is completely dry to avoid affecting adhesive bonding.
Repair obvious wall cracks, pits, and protruding bulges with putty, and polish the wall to a relatively flat state. Overly uneven walls will cause hollowing and poor adhesion of the sheets.
Confirm the cement wall is fully cured with a moisture content below 8%. For humid areas, ensure good wall ventilation to prevent internal moisture accumulation.
Step-by-Step Installation Process for PVC Antibacterial Resin Sheets
Step 1: Accurate Measurement & Sheet Cutting
Use a tape measure and level ruler to accurately measure the height and width of the installation wall, record the data, and calculate the required sheet quantity to avoid material waste. According to the measured size, mark the cutting line on the PVC resin sheet. Use a fine-tooth saw or jigsaw for cutting to ensure neat and smooth cuts without burrs. For wall sockets, corners and other special positions, reserve corresponding notches in advance. After cutting, perform dry fitting to check the matching degree and adjust the size timely.
Step 2: Apply Adhesive & Auxiliary Double-Sided Tape
This step is key to firm pasting. First, paste double-sided tape on the back of the PVC sheet, 20mm away from the upper and lower edges and the middle position to play a preliminary fixing role. Then use a glue gun to apply special PVC structural adhesive on the back of the sheet in a uniform square dot or strip shape with a spacing of about 300mm. Do not apply excessive adhesive to avoid extrusion overflow and polluting the sheet surface. Keep the adhesive evenly distributed to ensure full wall contact.
Step 3: Position & Paste the Resin Sheet
Start installation from the wall corner or the most visible position. Align the sheet with the wall marking line, slowly fit it to the cement wall, and adjust the horizontal and vertical angle in real time with a level ruler to ensure no skew. After positioning, press the sheet firmly from the middle to the surroundings to exclude internal air bubbles. Gently tap the sheet surface with a rubber mallet to make the adhesive fully contact the wall and eliminate hollowing areas.
Step 4: Splice Subsequent Sheets & Adjust Flatness
Install the remaining sheets in sequence according to the first installation standard. Ensure the splicing gaps between adjacent sheets are uniform and the overall lines are flat. During construction, wipe off the overflowing adhesive residue on the sheet edge with a damp microfiber cloth in time to avoid residual marks after curing. Check the flatness of the whole wall repeatedly, and adjust the loose or uneven parts immediately.
Step 5: Joint Sealing & Finishing Treatment
After all sheets are installed, fill the splicing gaps, wall corners and edge joints with neutral waterproof antibacterial sealant. Smooth the sealant with a scraper to form a seamless and waterproof integrated wall surface, which can further enhance the antibacterial and moisture-proof effect while improving the overall aesthetics. This step also prevents dust and moisture from penetrating into the gaps to protect the wall base.
Step 6: Adhesive Curing & Final Inspection
After installation is completed, avoid touching, squeezing or scratching the sheets. Let the adhesive cure naturally for more than 24 hours at room temperature to ensure the maximum bonding strength. After complete curing, conduct a comprehensive inspection: check for hollowing, warping, uneven gaps and unclean sealant parts, and repair the defective positions timely to ensure perfect construction effect.
Key Installation Tips for Better Effect
Construct in a dry and ventilated environment, and avoid construction in rainy and humid weather to prevent insufficient adhesive adhesion.
Do not use corrosive glue or ordinary glue. Special PVC structural adhesive must be used to avoid sheet falling off and yellowing.
Do not use sharp tools to knock or scratch the sheet during installation to protect the surface antibacterial coating and smooth texture.
For long-term humid spaces such as bathrooms and kitchens, enhance edge sealing treatment to extend the service life of the sheets.
Final Words
Renovating cement walls with PVC antibacterial resin sheets is a time-saving, labor-saving, and cost-effective wall upgrading solution. The whole installation process is simple and efficient, no large-area wall breaking or long-term drying waiting is needed. While realizing rapid wall renovation, it brings long-term antibacterial, waterproof and easy-care practical value.
Whether it is family house renovation, store decoration, hospital and factory hygienic wall upgrading, PVC antibacterial resin sheets can perfectly meet your needs. Master the above step-by-step installation method, and you can easily create smooth, clean, hygienic and high-grade wall space!